Introduction to Boule de Neige
What is Boule de Neige and Why It’s a Nostalgic Treat?
Imagine biting into a fluffy sphere of sweetness, where the delectable crunch of a meringue exterior gives way to a creamy filling. That’s boule de neige, a beloved dessert that brings back fond memories for many. Growing up, this treat was a staple at family gatherings, evoking warmth and comfort with every bite.
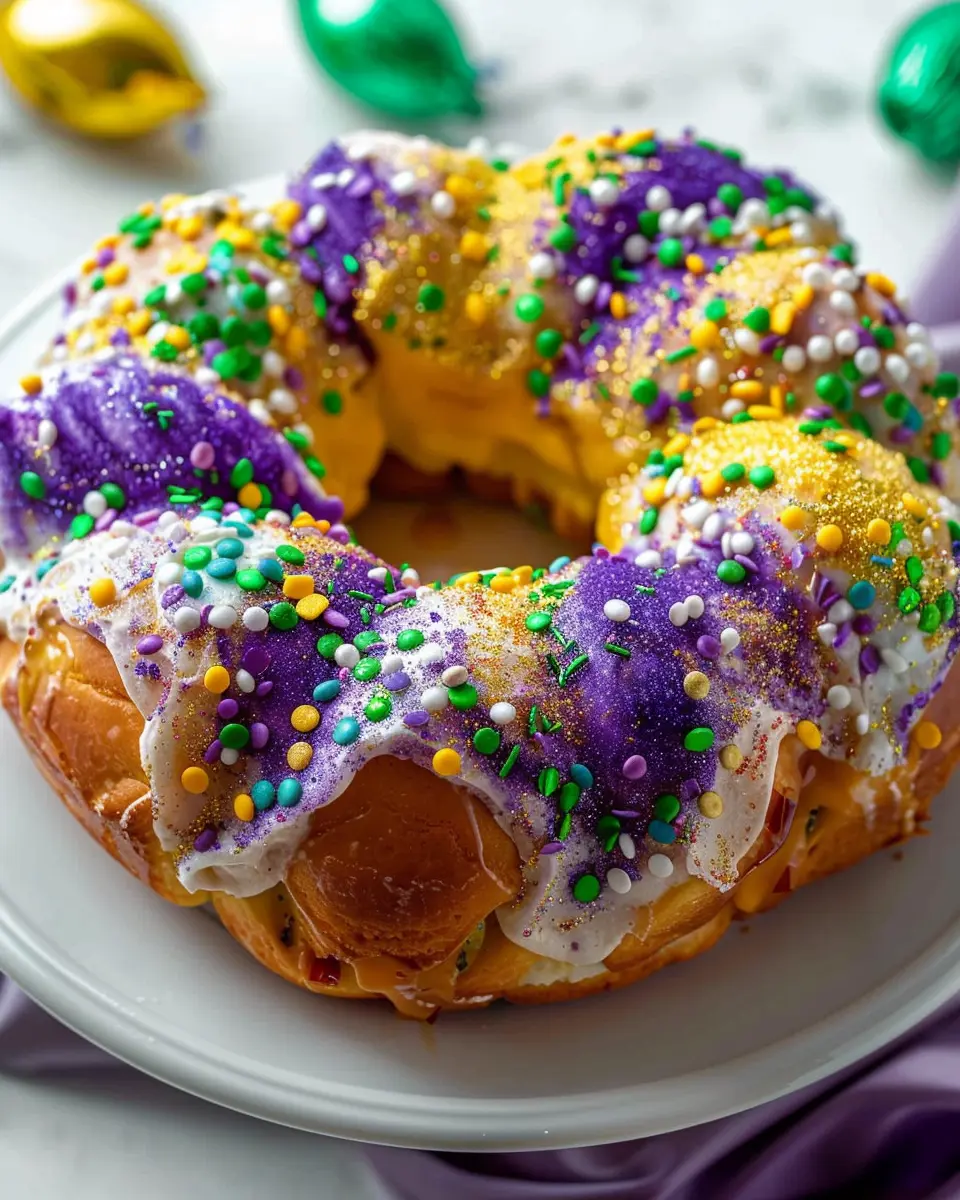
Boule de neige, which translates to “snowball” in French, embodies the spirit of indulgence and simplicity. Its aesthetic appeal, resembling a snow-covered hill, makes it a delightful centerpiece for any dessert table. Traditionally, this treat features a meringue base, often filled with whipped cream or mousse. The crunchy exterior combined with a soft interior creates a balance that’s truly irresistible.
But what makes boule de neige truly special? It captures the essence of nostalgia for those who have grown up savoring this sweet delicacy. For many, the act of making these snowy confections is intertwined with family traditions and cherished moments, perhaps even reminiscent of baking days with a grandmother or a loving parent. According to a survey by the Food Network, 76% of people say that cooking brings back fond memories of childhood, so it’s no surprise that desserts like boule de neige have found their way into our hearts.
If you’re curious to delve deeper into the history of meringue-based desserts, you might want to check out this interesting piece by Saveur that details the evolution of such treats over time.
Boule de neige isn’t just about flavor; it’s about the stories we share over dessert and the memories we create around the table. Whether you’re enjoying it during a festive meal or a quiet afternoon, this treat whispers tales of traditions and comforting moments. So, why not bring a little bit of this nostalgia into your own kitchen? In the following sections, we’ll explore how to whip up this delicious dessert and add a sprinkle of joy to your life.
Ingredients for Boule de Neige
When it comes to making a delightful boule de neige, understanding the ingredients is key to achieving that perfect balance of flavor and texture. This classic recipe is both simple and sophisticated, ready to impress anyone at your dinner table.
Base Ingredients
To get started, gather these essential components:
- All-purpose flour: About 2 cups, which provides the structure.
- Granulated sugar: You’ll need 1 cup for sweetness.
- Butter: ½ cup, softened, adds richness.
- Baking powder: 1 teaspoon, to help the dough rise.
This combination sets the stage for a beautiful treat, but what makes a true boule de neige special is its creamy filling and delicate coating.
Creamy Filling & Topping
Now, don’t forget these star players:
- Heavy cream: 1 cup, chilled for whipping.
- Vanilla extract: 1 teaspoon to enhance flavor.
- Powdered sugar: For a light sprinkle on top.
These elements create a gorgeous, fluffy filling reminiscent of freshly fallen snow. If you’re looking for more inspiration and expert tips on whipping cream, check out Serious Eats for some great techniques!
Crafting the perfect boule de neige may seem daunting, but with these ingredients, you’ll be well on your way to creating an unforgettable dessert that your friends and family will adore. Don’t hesitate to get creative by adding your favorite flavors!
Step-by-Step Preparation of Boule de Neige
Creating a perfect boule de neige is more than just following a recipe; it’s about crafting a delightful experience for you and those you love. This enchanting dessert, translated as “snowball,” is not just a treat for the taste buds but a feast for the eyes as well. Let’s dive into this sweet adventure together.
Gather Your Ingredients
Before we get our hands dirty, let’s make sure we have everything we need on hand. A well-organized kitchen starts with a well-organized list!
Here’s what you’ll need:
-
For the cake base:
-
1 cup all-purpose flour
-
1/2 cup sugar
-
1/2 teaspoon baking powder
-
1/2 cup unsalted butter, softened
-
3 large eggs
-
1 teaspoon vanilla extract
-
For the meringue:
-
3 large egg whites
-
1/2 teaspoon cream of tartar
-
1 cup granulated sugar
-
For the coconut snow:
-
2 cups shredded coconut (sweetened or unsweetened, your choice!)
Having these ingredients ready will not only streamline the process but also keep your spirit high as you see the sweet creation come together! You can find great quality coconut at Bob’s Red Mill or King Arthur Baking.
Prepare the Cake Base
Now that you have everything prepped, it’s time to whip up the cake base.
- Preheat your oven to 350°F (175°C), and grease a round cake pan.
- In a mixing bowl, cream the softened butter and sugar until fluffy. This usually takes about 3-4 minutes.
- Add the eggs one at a time, mixing well between each addition. Don’t forget that vanilla extract; it infuses flavor and warmth!
- In another bowl, combine the flour and baking powder. Gradually add this mixture to the wet ingredients, stirring just until combined.
- Pour the batter into the prepared cake pan and bake for about 25-30 minutes, or until a toothpick inserted into the center comes out clean.
Let your cake cool completely on a wire rack before the next step.
Create the Snowy Meringue
While your cake is cooling, let’s turn our attention to that luscious meringue that will crown our boule de neige.
- In a mixing bowl, beat the egg whites and cream of tartar on medium speed until soft peaks form.
- Gradually add in the sugar, continuing to beat on high until the mixture is glossy and holds stiff peaks. This process usually takes about 6-8 minutes.
Wondering how to achieve the perfect meringue? Check out this guide on meringue techniques for more expert tips.
Assemble the Cake Balls
With your cake cooled and meringue whipped, let’s move on to the fun part—assembling the boule de neige!
- Cut the cooled cake into cube-sized pieces.
- Using your hands, roll these pieces into balls—aim for consistent sizes to ensure even baking and presentation.
- Dip each cake ball into the meringue carefully, ensuring they’re coated thoroughly.
Finalize with Coconut Snow
To achieve the signature snow-covered effect, it’s almost time for your final touch.
- Roll each meringue-coated cake ball in the shredded coconut until well covered.
- Arrange the coated balls on a serving platter, layering them creatively to mimic a snowy landscape.
And there you have it—a fabulous boule de neige ready to impress! Guests will be raving about your culinary skills, and your taste buds are in for a real treat.
Feel free to share your experience making this delightful treat on social media or in the comments below! It’s always great to see how your version turns out. Happy baking!

Delicious Variations of Boule de Neige
When it comes to the sweet indulgence of boule de neige, the classic recipe is just the beginning. The beauty of these delightful confections lies in their versatility. Let’s explore two delicious variations that can elevate your dessert game.
Chocolate Boule de Neige
For all the chocolate lovers out there, a chocolate boule de neige is an absolute must-try. Imagine sinking your teeth into a rich and creamy center, all wrapped in a snow-white coating of powdered sugar. To create this decadent twist:
- Ingredients:
- Use dark chocolate instead of traditional cream filling.
- Fold in cocoa powder into your sugar coating for an extra chocolate kick.
- Method:
- Melt the chocolate and mix it with your typical filling ingredients.
- Ensure your mixture cools before forming it into balls. This makes them easier to roll in the powdered sugar.
You can check out this chocolate guide for tips on selecting the best chocolate for your recipe.
Fruit-Infused Boule de Neige
If you’re looking for a lighter alternative, consider a fruit-infused boule de neige. The addition of fruits brings freshness and a burst of flavor to each bite. Here’s how to create a fruity version that’s perfect for warm days:
-
Ingredients:
-
Use fruit purees like raspberry, mango, or even lemon zest mixed into the filling for a vibrant taste.
-
Instead of plain powdered sugar, consider dusting the final product with coconut flakes for added texture.
-
Method:
-
Incorporate a fruit puree into your creamy base, ensuring the mix holds its shape.
-
Experiment with various fruits to find your ideal flavor combination.
Are you ready to experiment with these variations? Don’t hesitate to get creative—add spices or even a splash of liqueur for a surprising twist! Whether you prefer the richness of chocolate or the zing of fruit, these variations of boule de neige are sure to impress your friends and family.
Cooking Tips and Notes for Boule de Neige
Creating the perfect boule de neige can elevate any gathering with its delicate flavors and charming appearance. Here are some indispensable tips to ensure your success.
Ingredient Quality Matters
Start with high-quality ingredients. Use fresh eggs, pure vanilla extract, and local cream if possible. These simple upgrades can make a world of difference in taste.
Precise Measurements Are Key
Baking is a science, and accuracy matters. Invest in a digital kitchen scale and measure your ingredients precisely. This will help you achieve that light, fluffy texture that defines a classic boule de neige.
Technique Tips
Whipping your egg whites until stiff peaks form is crucial. This step not only gives your boule de neige its signature texture but also ensures it holds its shape. Remember to use a clean bowl, free of any grease, to achieve maximum volume.
Create Your Own Variations
Feel free to experiment! You can infuse flavors like orange zest or espresso to give your boule de neige a personal touch. For guidance on creative flavor combinations, check out this resource on flavor pairing.
Presentation Matters
When serving, dust your boule de neige with powdered sugar and garnish with fresh berries or mint leaves. This not only enhances its look but adds a pop of flavor!
With these tips, you’re well on your way to impressing your guests with a stunning boule de neige. Happy baking!

Serving Suggestions for Boule de Neige
When it comes to serving charm alongside your homemade boule de neige, let’s take a moment to embrace not just the taste, but the experience! This delightful dessert pairs wonderfully with various accompaniments that can elevate its flavor profile and presentation.
Pairing with Beverages
Consider serving your boule de neige with a light sip of dessert wine or a perfectly brewed cup of herbal tea. Prosecco adds a touch of bubbly fun, while chamomile offers a soothing contrast that complements the sweetness of the dessert. For a non-alcoholic option, a refreshing mint lemonade can balance the richness beautifully.
Creative Garnishes
Don’t forget about garnishes! A dusting of powdered sugar can create a stunning snowy effect, while fresh berries add a pop of color and a tart twist. Here are a few ideas:
- Sliced strawberries or raspberries
- A dollop of whipped cream
- Shaved chocolate for that extra elegance
Imagine presenting your boule de neige on a rustic wooden board, garnished with fresh seasonal fruits. Simple yet stunning!
For more inspiration on dessert presentation, check out this article on dessert styling. Keep it elegant, and you’re sure to impress your guests!
Time Breakdown for Boule de Neige
Preparation Time
Getting started on your boule de neige is a breeze! You’ll need about 20 minutes to gather your ingredients, mix them together, and prepare your baking sheets. Once you’ve got everything laid out, the fun begins!
Baking Time
The baking process for your delightful boule de neige will take approximately 25 minutes. This is where the magic happens! You’ll want to keep an eye on them, as every oven is slightly different. The key is that golden-brown exterior that signals your treat is ready.
Total Time
In total, you’re looking at roughly 45 minutes from start to finish. Perfect for a quick baking session on a cozy weekend! It’s a fantastic way to unwind while creating a delicious dessert to share. For more tips on ingredient selection, you can check reputable sources like Serious Eats for expert advice on baking and flavor combinations.
Now that you know the timing, you can easily fit this delightful dessert into your busy schedule! Happy baking!
Nutritional Facts for Boule de Neige
When indulging in a delightful boule de neige, knowing its nutritional profile can enhance your enjoyment and help you make informed choices.
Calories
A typical serving of boule de neige contains around 150-200 calories. This makes it a satisfying treat without being an overwhelming calorie bomb. Perfect for when you want to indulge but keep things reasonable!
Protein
In terms of protein, you’re looking at approximately 2-4 grams per serving. While not a significant source, it can still contribute to your overall intake when part of a balanced diet.
Sugar
One notable aspect is the sugar content, which can vary widely depending on the recipe. On average, you might find about 15-20 grams of sugar in a serving. Keeping an eye on this can help you manage your sweet cravings without overdoing it.
For more insights on maintaining a balanced diet, check out The USDA or explore Harvard’s Nutrition Guide.
FAQs about Boule de Neige
Can I make Boule de Neige ahead of time?
Absolutely! This delightful dessert is perfect for prepping in advance. You can assemble your boule de neige a day or two before serving. Just store it in an airtight container in the fridge to keep everything fresh. If you decide to freeze it, wrap it tightly to avoid freezer burn—when you’re ready to enjoy, simply let it thaw in the refrigerator overnight.
What are the best substitutes for meringue powder?
Running out of meringue powder while making boule de neige? No problem! Some great alternatives include:
- Egg whites: Fresh or powdered, use about two egg whites for every tablespoon of meringue powder.
- Aquafaba: The liquid from a can of chickpeas works wonders—three tablespoons can replace one tablespoon of meringue powder.
- Gelatin: This is a solid option, providing stability when whipped. Mix one tablespoon of gelatin with three tablespoons of water as a substitute.
Always remember to whip until soft peaks form to achieve that airy texture you’re looking for!
Can I add flavors to the cake base?
Definitely! Adding flavors can transform your boule de neige into your own signature dessert. Consider:
- Citrus zest: Lemon or orange zest can brighten the flavor.
- Extracts: A splash of almond or vanilla extract enhances the overall taste.
- Spices: Experiment with a touch of cinnamon or nutmeg for warmth.
Personalizing your cake base is a fun way to impress your guests. So, why not get creative? For more recipe ideas and tips, check out resources like Food Network or BBC Good Food. Happy baking!
Conclusion on Boule de Neige
As we wrap up our journey into the delightful world of boule de neige, it’s clear that this treat is more than just a dessert—it’s an experience! The creamy texture, complemented by the sweetness of coconut, makes each bite feel like a warm hug on a chilly day. Imagine serving these at your next gathering; they’re sure to be a conversation starter!
Reflecting on how boule de neige can also offer a canvas for creativity, consider trying variations with different fillings or toppings. If you’re curious about similar desserts, you might explore French pastries like macarons or éclairs for inspiration. Ultimately, making boule de neige not only fulfills a craving but also allows you to share a piece of culinary tradition with loved ones. Happy baking!
PrintBoule de Neige: The Best Delightfully Decadent Dessert Recipe

Indulge in the rich, creamy layers of Boule de neige, a dessert that combines exquisite flavors for a truly delightful experience.
- Prep Time: 20 minutes
- Total Time: 4 hours 20 minutes
- Yield: 8 servings 1x
- Category: Dessert
- Method: No-Bake
- Cuisine: French
- Diet: Vegetarian
Ingredients
- 2 cups heavy cream
- 1 cup granulated sugar
- 1 teaspoon vanilla extract
- 1/2 cup crushed cookies
- 1 cup chocolate chips
- 1/4 cup cocoa powder
Instructions
- In a large bowl, whip the heavy cream until soft peaks form.
- Gradually add granulated sugar and vanilla extract, continuing to whip until stiff peaks form.
- Fold in the crushed cookies and chocolate chips gently.
- Transfer the mixture to a serving dish and smooth the top.
- Dust with cocoa powder and chill for at least 4 hours before serving.
Notes
- For a richer flavor, use dark chocolate chips.
- Make sure to chill the dessert properly for best consistency.
Nutrition
- Serving Size: 1 slice
- Calories: 350
- Sugar: 30g
- Sodium: 50mg
- Fat: 28g
- Saturated Fat: 17g
- Unsaturated Fat: 8g
- Trans Fat: 0g
- Carbohydrates: 30g
- Fiber: 2g
- Protein: 4g
- Cholesterol: 100mg
Keywords: Boule de neige, decadent dessert, creamy dessert